Friday, March 2, 2012

Monotypes


8.5x11", monotype.


18x24", monotype.

Experimental black and white monotypes from the beginning of the semester.

Etchings


This is a small etching created for practice from an old plate of Britt's which had a drypoint portrait on top of it. I (mostly) buffed it out with steel wool and used aquatint and open bite to create this image. 


This is my big project for right now... an 18x24" plate I am working using aquatint and open bite. The image on the left is the first proof, before open biting. The image on the right is the second proof, plate wiped in blue with a burnt sienna roll on top. The sharpie I was using as a resist around the white lines wore away in the acid so they have a scratchy dark outline I am in the process of scraping away now. The plate is being polished with steel wool down and will be re aquatinted, and editioned this weekend.

More Litho Prints


Here are a few images of the editions I've printed for lithography class in the last few weeks. They are both printed from pronto plates and are pretty small (about 5x7") and part of an edition of 10.


My roommate Nate and I collaborated to create this print, which is part of an edition of 10 and was printed by me. It's also printed from a pronto plate and is larger, about 11x17. I also pulled a few prints on plain canvas that are for sale in my Etsy shop and are the same size, as the design was created to be a backpatch.

Bundle Stitch Winecard book for Erin


This book was a gift for my roommate Erin's 21st birthday. It was bound using the bundle stitch method, which is a sewn binding instead of one that uses adhesive.
The pages of this book were made from a vintage atlas and a book about space that I cut up and repurposed to create pockets in the pages, created with sewing on the edges of the pages which can be seen in the photos. I saved the labels from Erin's wine bottles and glued them onto cards I made with impressionist cat paintings on the back (seen in the last photo). It's a very fat book because the pages are so thick. 

I'm planning on creating more bundle stitch books to eventually put in my Etsy shop!

Thursday, March 1, 2012

Western Style Multi-Signature Books


Two Western-Style multiple signature books I bound. Both are covered in paper that has string and pulp inlaid to create raised designs in them. 

The top book I am using as a stream of consciousness journal. It measures 4 1/2x 4 1/2 inches.

The second journal measures 4 1/4 x 6 inches. 

Japanese Stab Books


I also learned how to create a book bound with the Japanese stab method.

The red book is made from leftover scraps printmaking paper. It has cream pages, red covers and is bound with brown thread. It measures 6 1/4" by 4 1/4" and is for sale in my Etsy shop!

The green book is also filled with printmaking paper, but the pages have been embossed with copper plates I created and each page has a small embossment in 2 of its corners of cells in the process of dividing. The pages are grey Magnani Pescia paper and the cover is forest green, bound with white thread. The inside liner paper for the covers is made from an old black and silver woodcut. It measures 7"x 4 1/4'.

Accordion-Style Book


This semester I'm taking a bookbinding class. The binding style we made was a book with accordion-fold pages. I chose to first monotype the pages, then attach and fold them and bind them into the book.

The book is 4x5 inches tall and has a blue/purple/brown cloth cover and black/teal monotypes inside.

Monday, January 30, 2012


My second litho print. Also made from a pronto plate, I pulled some prints of this one over the weekend. We're starting to work on stones and aluminum plates now.

Monday, January 23, 2012

Lithography


Started classes today... I only had one, lithography. We started out working with sharpie on pronto plates and pulled a few prints from them. This is my first lithograph!

Wednesday, January 18, 2012

Tiles


Here are two sets of tiles I created as an experiment of printmaking with clay. Both sets are created from the same two pieces of carved linoleum. They show cells dividing through the process of mitosis. The colors are achieved through staining the clay with clay particles used to dust the linoleum, and then glazing over the stained surface. I'm doing an independent study this coming semester for printmaking in clay and relief techniques are the simplest, so expect to see more as the next few months pass.

Large Tile


This is a 9x9 unglazed porcelain tile. The image on it was created by intaglio printing one of my etched copper plates (one of the plates used to create this print) onto porcelain clay. The ink used was made of mason stain and linseed oil. 

Tuesday, December 20, 2011

Woodcuts


For my final woodcut project I created a block using a dremel tool of a slide of cells from my microbiology textbook. Using different bits for the tool, I was able to achieve either lines or the stipple effect. It's a small woodcut (carved area is about 9"x12") which was nice because my previous one was so large. Once all the prints dried I gave them each a unique hand-coloring with watercolor. This is an "edition" of six unique hand-colored prints.

Two-Plate Three-Color Print


This is the final print for the image I posted a sketch of awhile ago (here). I printed it using yellow and purple like in the sketch but didn't like the way it looked, so I switched the yellow ink to magenta because the purple ink is mixed with magenta so I thought they would flow better together. The print didn't come out exactly as I was hoping, to get them to look the way I wanted they had to be exact copies of each other and I wasn't as precise with my aquatint as I had hoped. I still like the way it came out and learned a lot from it--there's a pink plate with black a la poupee (selective wiping with multiple colors on the same plate) in the purple and a purple plate with a la poupee in the pink--I wish I had a chance to take a photo of my color separation but had to turn it in for my critique. The colors are a little brighter in the actual print than the photo as well. I'm looking forward to doing more multi-plate prints in the future.


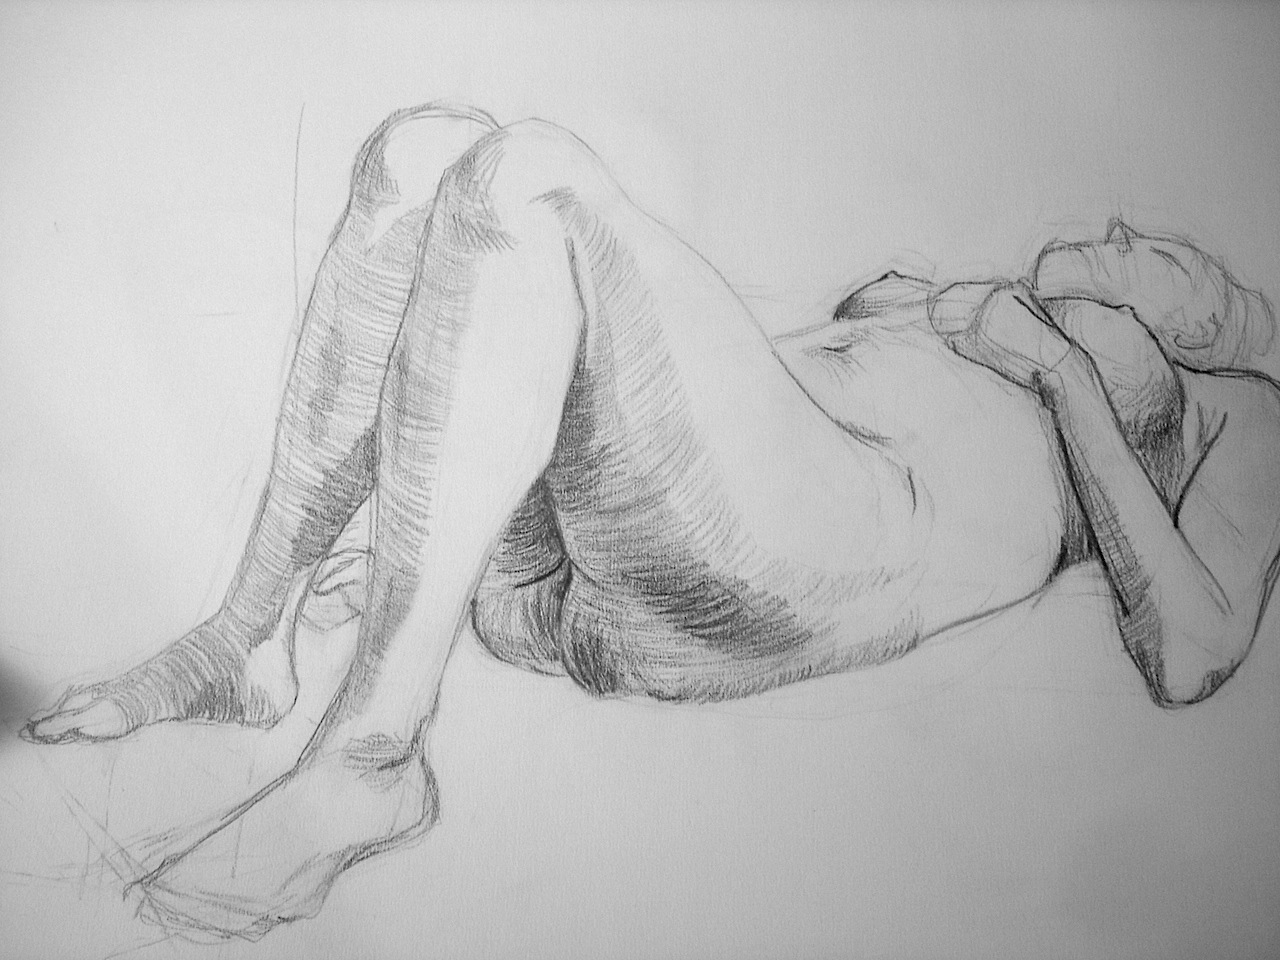
We did quick small charcoal drawings for my last two figure drawing classes, here are a few of them.

Two-Stage Woodcut


I had a hard time photographing this print because it's so big (about 16"x30") printed with silver ink so this is from an odd angle--it's a little distorted. It's a woodcut printed in two stages. For the first stage, I printed the back of the block with black. After it dried I printed the next layer, which was the cutout face in silver on top of the black background. I didn't like the way the block looked but after printing I am really happy with how it came out. The printing process was inspired by Picasso, who would print the back of the block in black and then the carved block in white so it would look like a line drawing--I just chose not to use white ink.

Monday, December 19, 2011


I never posted the final print of my first woodcut--so here it is!

It was handprinted using a wooden knob as a burnisher and carved out of pine. It's pretty small, 12x12 inches.

Monday, November 21, 2011


This is a digital sketch--which I never do, but being able to play with the opacity of different layers in Photoshop is really useful for figuring out plate overlay. I don't usually work in color either but I've had a lot of fun playing with different inks and how they look when they overlap each other when printed.

On a side note I've made my schedule for next semester and I'll be taking Abstract Drawing, Color Relief Printmaking, Monotype, Advanced Printmaking, Lithography, Artist's Books and African-American Art History. I'll also be a monitor in my school's printshop. It will be a busy semester with lots of printmaking!!


My portfolio was due in anatomy class today. These are a few of my skeletal studies I turned in. You can see a detail photo of the last drawing (the fullbody skeleton) by clicking here.


Here are some lifedrawings from the last couple weeks of class I never got the chance to post--they are all about 30 minute drawings.

Wednesday, November 2, 2011


Two 30-minute studies from Anatomy class this week.